

Buying Guide for Portable Signal Jammers
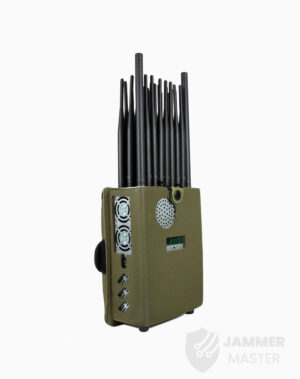
Key Takeaways Consideration Detail Product Weight Jammer Master’s portable jammers average 1.5Kg, significantly lighter than desktop models. Frequency Bands Capable of blocking multiple bands with


Cell Phone Jammers are devices designed to block or disrupt cellular signals in a specific area. To ensure their effectiveness, proper installation and reliable power connection are crucial. This article provides a step-by-step guide on how to install and connect a Cell Phone Jammer for optimal performance.
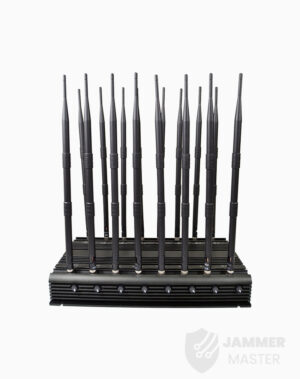
To achieve the best signal blocking effect, it is recommended to install the Cell Phone Jammer at a height between 1.8 meters and 2.5 meters. The package usually includes installation brackets, expansion tubes, and screws, which can be used to securely mount the jammer on a wall or directly on the ceiling. However, it is important to note that the ceiling should not be made of metal, as this can interfere with the jammer’s functionality. Alternatively, the jammer can be placed on a desktop for convenient use.
After the installation is complete, it is essential to check the power cable of the Cell Phone Jammer for proper connection. Once confirmed, the jammer can be connected to a standard 220V power outlet. After connecting the power, switch on the power button of the jammer. Finally, observe the power indicator light on the jammer’s main panel to ensure it is displaying normally. If the power indicator light does not illuminate, it is advisable to contact the device supplier for assistance.
Proper installation and reliable power connection are vital for the effective functioning of Cell Phone Jammers. By following the guidelines provided in this article, users can ensure optimal performance and enjoy uninterrupted signal blocking in their desired area. It is important to remember that the use of Cell Phone Jammers should comply with local regulations and respect the privacy of others.
Key Takeaways Consideration Detail Product Weight Jammer Master’s portable jammers average 1.5Kg, significantly lighter than desktop models. Frequency Bands Capable of blocking multiple bands with

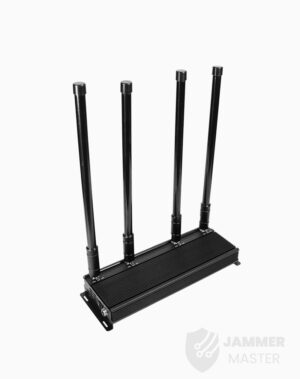
In an age where the sky is dotted with drones, the importance of drone jammers has never been more significant. From commercial deliveries to personal

Protect your vehicle’s location privacy with a professional guide on GPS jammers. From selection to legal considerations and installation tips, we’ve got you covered. Key

Understanding Signal Blocker: How It Works and Its Applications Signal Blockers are devices that can disrupt mobile phone signals, preventing them from connecting to base

The Application and Benefits of High-Power Signal Jammers Enhancing Signal Blocking Efficiency in Various Environments In today’s technologically advanced world, the need for effective signal

Considerations for Purchasing Exam Room Signal Jammers Ensuring Effective Signal Jamming for Exam Integrity As the year approaches its end, many schools are preparing for

The Importance of Monitoring and Signal Interference Measures During Examinations During examination periods, it is crucial to closely monitor the examination venues and their surrounding

Selecting the Appropriate Cell Phone Jammer for Theaters and Auditoriums Overcoming Challenges in Installation and Maximizing Signal Disruption The Importance of Cell Phone Jamming in

Remote Control of Cell Phone Jammers via Smartphone: A Possibility? With the rapid development of the Internet of Things (IoT), numerous smart home devices have